title: 使用hexo部署Github Pages网页 date: 2022-09-20 00:53:46 tags: 博客
这篇博客讲一下如何给我们的GitHub仓库生成一个网页,我们可以利用GitHub pages,无需服务器的部署静态资源,通常来说是简单的功能js交互或者一些文档说明,都可以很好的使用这个方法
首先我们新建一个GitHub仓库,然后在主分支写一些源代码.这时候如果我们希望在网页端部署一些资源,给一个url地址可以让其他人查看,我们可以利用hexo快速部署
hexo 的安装很简单,安装nodejs之后一行命令就可以了,这里都比较基础就直接跳过了
npm install hexo-cli -g通常来说一个仓库应该是main/master分支包含仓库对应的源代码,dev/debug分支用于测试/修改,gh-pages分支用于网页端文档的展示或是效果的展示
我个人的习惯的构建方式如下,即使用一个GitHub_pages目录单独保存所有的网页文档,,源代码则在repo中改动,实现原仓库的代码和网页端的文章内容分开,方便管理
|--- Github_pages
     |--- C-libs
     |--- ...
|--- repo
     |--- C-libs
|--- ...- 在GitHub_pages目录下使用hexo初始化一个文件夹
hexo init C-libs
- 安装必要的部署插件
cd C-libs
npm install hexo-deployer-git --save
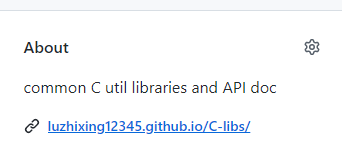
- 查看仓库所在的URL和仓库部署的对应的网站地址
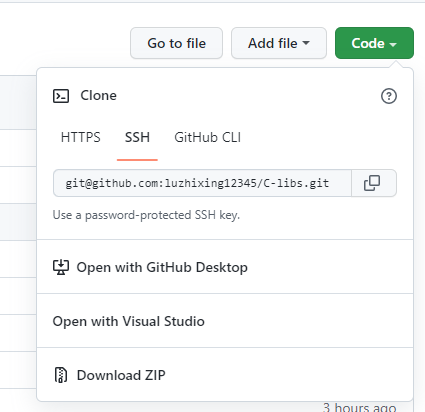
这里可以看到所有的仓库是建立在你的github.io的域名之下的子目录
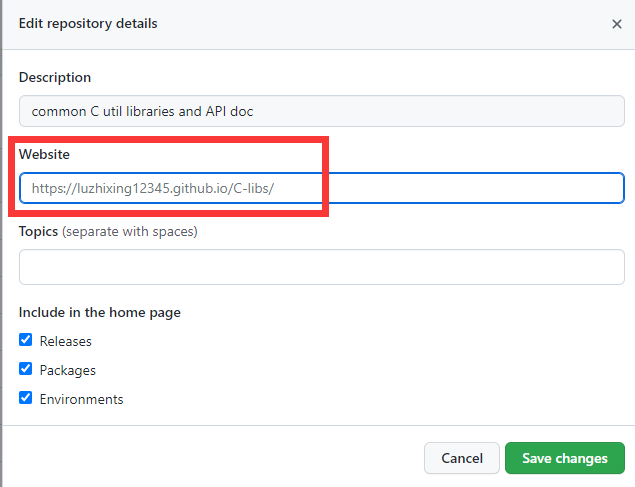
- 修改
_config.yml需要修改两个地方,一个是url,一个是deploy的部分
url如果不修改的话hexo部署上去是没有主题样式的,因为css文件的的引用关系不正确. 虽然在本地使用 hexo server查看没有问题但是在GitHub网页端它的路径不一样,所以这里需要修改.
deploy的修改则表示使用git部署,GitHub地址,对应的branch分支
# URL
## Set your site url here. For example, if you use GitHub Page, set url as 'https://username.github.io/project'
url: https://luzhixing12345.github.io/C-libs/

deploy:
  type: 'git'
  repo:
    github: git@github.com:luzhixing12345/C-libs.git
  branch: gh-pages
通常来说我们会单独将仓库对应的网页部署在gh-pages这个分支下
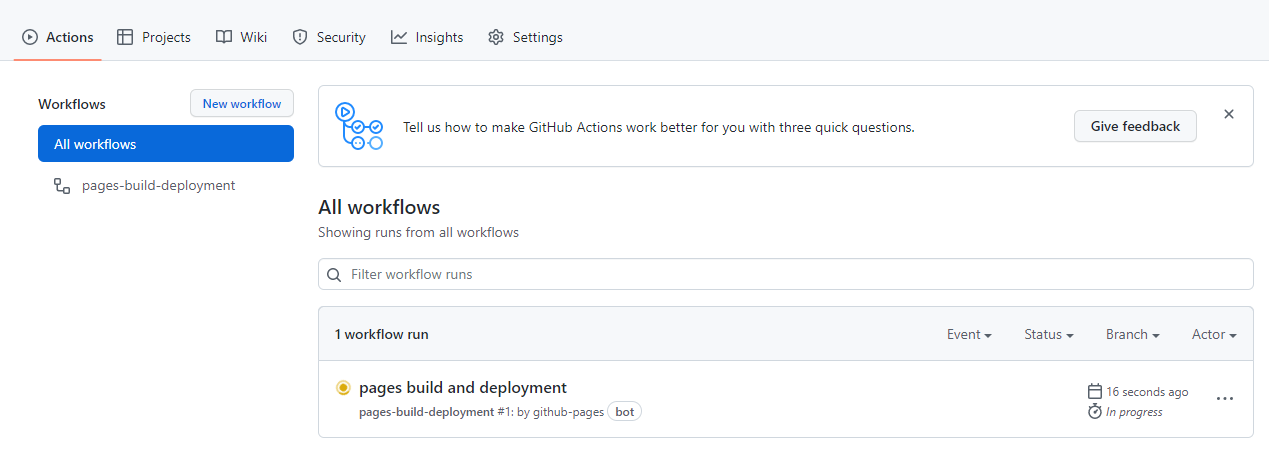
- 上传
hexo clean
hexo g -d
等待Github Action执行完毕打开链接即可浏览网页
上述的5步其实都是在命令行中就可以完成的,所以我们可以简单写一个脚本
我这里用的是C写的,其实什么语言都差不多,就是一些简单的命令行功能
复制如下代码,将 user_name 改为你的, local_GithubPages_URL 改为你的本机文件夹地址
编译之后得到exe文件,放到path目录下即可全局调用
gcc page.c -o page#include <stdlib.h>
#include <unistd.h>
#include <stdio.h>
#define BUF_SIZE 1024
char buf[BUF_SIZE];
const char* user_name = "luzhixing12345"; // 你的用户名
char* local_GithubPages_URL = "G:\\Github_pages"; // 这里修改为你的本机文件夹地址
char* branch = "gh-pages";
char *getfileall(char *fname)
{
FILE *fp;
char *str;
char txt[BUF_SIZE];
int filesize;
//打开一个文件
if ((fp=fopen(fname,"r"))==NULL){
printf("打开文件%s错误\n",fname);
return NULL;
}
//将文件指针移到末尾
fseek(fp,0,SEEK_END);
filesize = ftell(fp);//通过ftell函数获得指针到文件头的偏移字节数.
str=(char *)malloc(filesize);//动态分配str内存
str[0]=0;//字符串置空
rewind(fp);
while((fgets(txt,BUF_SIZE,fp))!=NULL){//循环读取,如果没有数据则退出循环
strcat(str,txt);//拼接字符串
}
fclose(fp);
return str;
}
char *str_replace(char *orig, char *rep, char *with) {
char *result; // the return string
char *ins; // the next insert point
char *tmp; // varies
int len_rep; // length of rep (the string to remove)
int len_with; // length of with (the string to replace rep with)
int len_front; // distance between rep and end of last rep
int count; // number of replacements
// sanity checks and initialization
if (!orig || !rep)
return NULL;
len_rep = strlen(rep);
if (len_rep == 0)
return NULL; // empty rep causes infinite loop during count
if (!with)
with = "";
len_with = strlen(with);
// count the number of replacements needed
ins = orig;
for (count = 0; tmp = strstr(ins, rep); ++count) {
ins = tmp + len_rep;
}
tmp = result = malloc(strlen(orig) + (len_with - len_rep) * count + 1);
if (!result)
return NULL;
while (count--) {
ins = strstr(orig, rep);
len_front = ins - orig;
tmp = strncpy(tmp, orig, len_front) + len_front;
tmp = strcpy(tmp, with) + len_with;
orig += len_front + len_rep; // move to next "end of rep"
}
strcpy(tmp, orig);
return result;
}
int main(int argc, char *argv[])
{
// input format : git@github.com:luzhixing12345/C-libs.git
char *total_lib_name = argv[1];
char *lib_name = total_lib_name + strlen("git@github.com:/") + strlen(user_name);
lib_name[strlen(lib_name)-4] = '\0';
chdir(local_GithubPages_URL);
sprintf(buf,"hexo init %s",lib_name);
system(buf);
sprintf(buf,"%s\\%s",local_GithubPages_URL,lib_name);
chdir(buf);
system("npm install hexo-deployer-git --save");
// printf("%s\n", getcwd(s, 100));
char *str = getfileall("_config.yml");
sprintf(buf,"http://%s.github.io/%s/",user_name,lib_name);
str = str_replace(str,"http://example.com",buf);
sprintf(buf,"type: git\n repo:\n github: %s.git\n branch: %s",total_lib_name,branch);
str = str_replace(str,"type: \'\'",buf);
FILE *fp = fopen("_config.yml","w+");
fputs(str,fp);
fclose(fp);
sprintf(buf,"hexo g -d");
system(buf);
return 0;
}这里其实username也可以通过popen拿到git config --global user.name 的返回值做到,不过没有这么做
这段代码就是实现了之前提到的一系列操作,自动把网页部署上去.需要传入一个参数argv[1]就是你的GitHub仓库的ssh地址,注意一定是ssh地址不是http的地址!
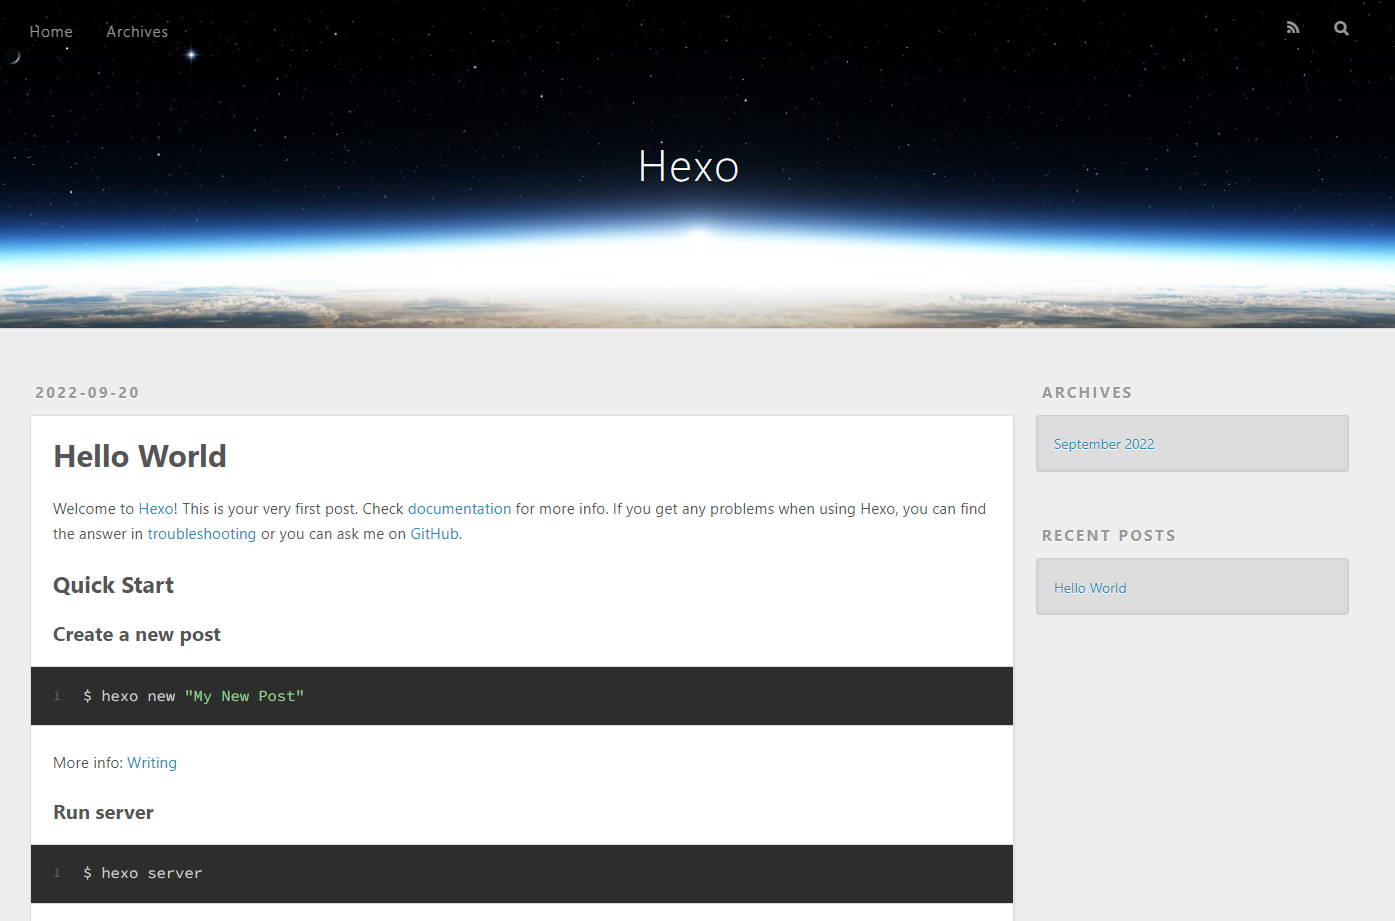
page git@github.com:luzhixing12345/C注意到这里只是单纯的hexo init之后就直接部署上去了,所以看到的效果是最初始的hexo,这段代码也只是为了快速初始化一个页面.至于后续使用什么hexo主题,怎么写就是后面的事情了~
相关使用视频可以查看TODO